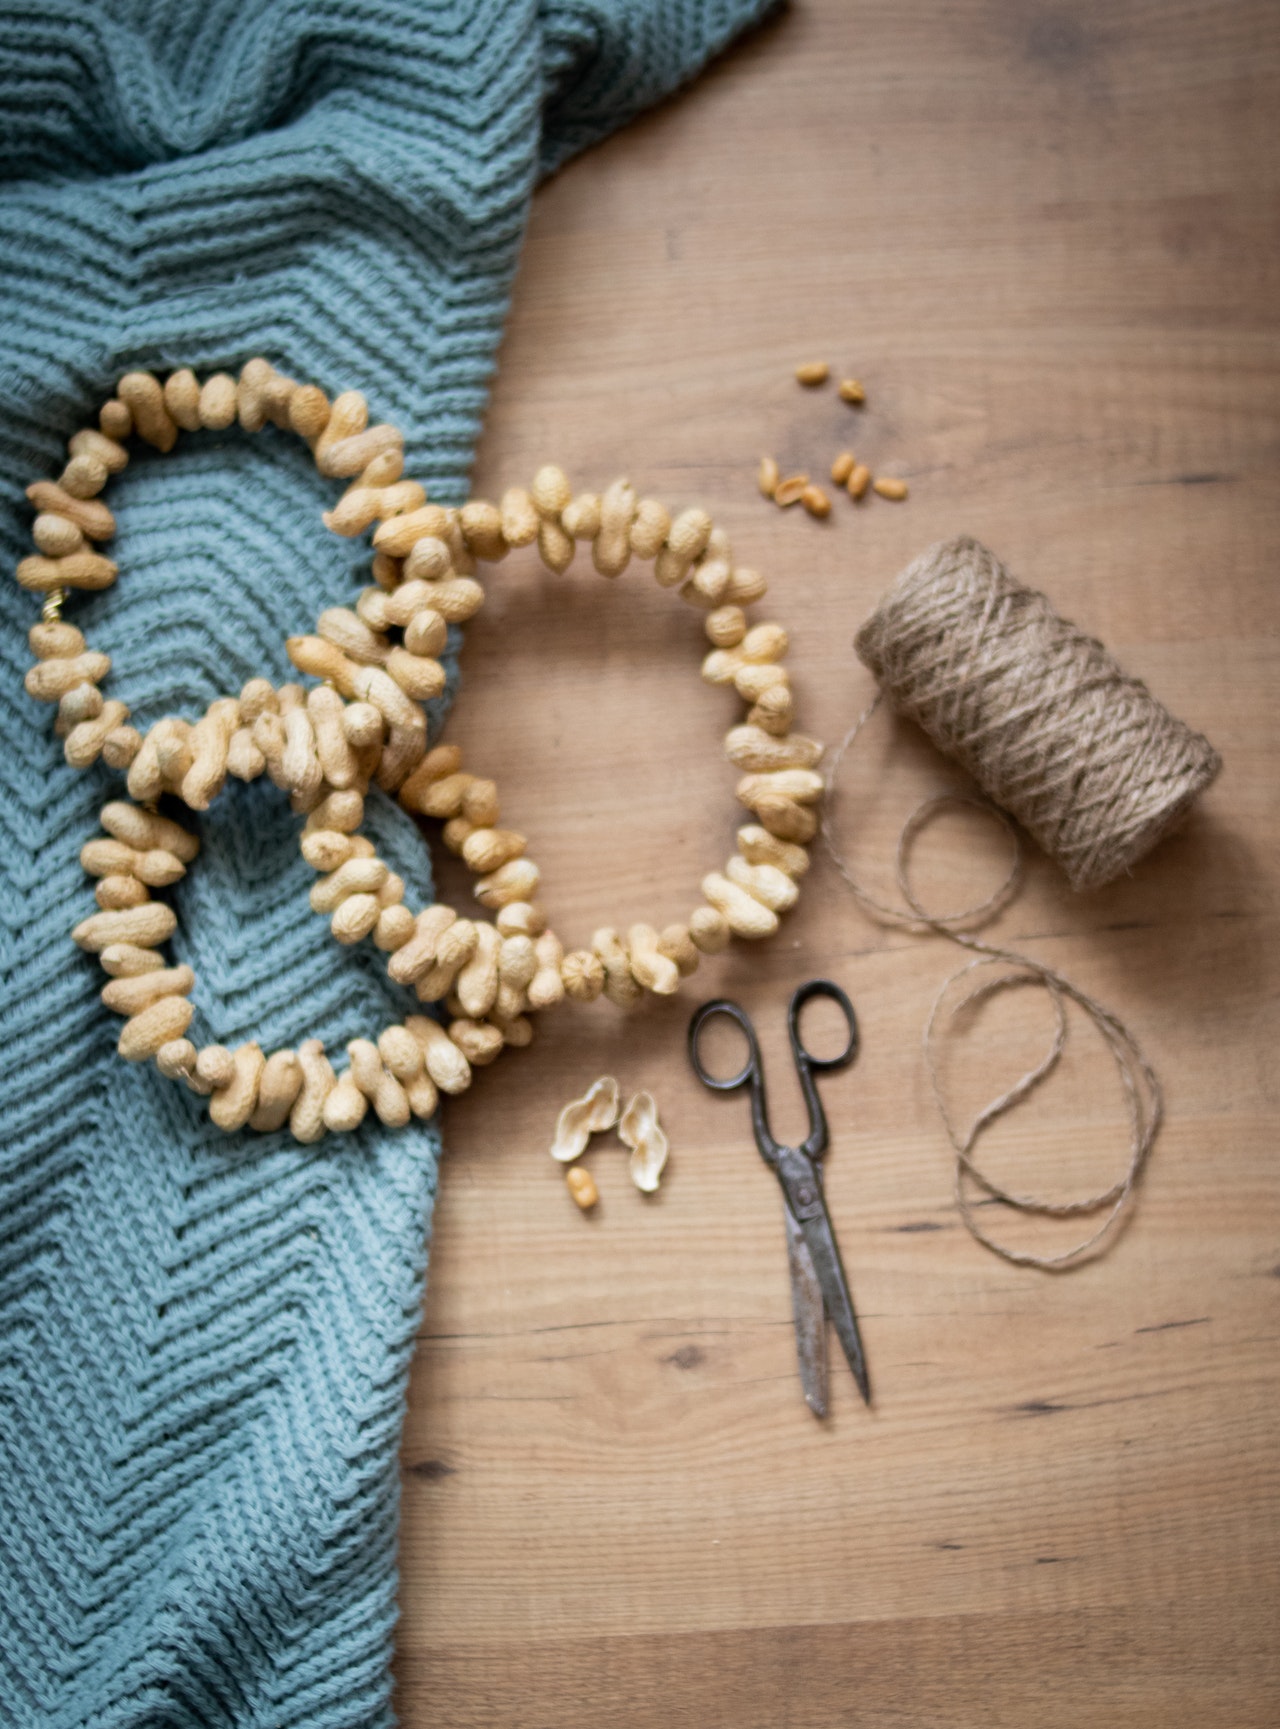
Making your own necklaces is a great way to express your creativity. You can create unique pieces of jewelry that reflect your personal style and taste. To get started, there are certain things you need to have on hand in order to make necklaces.
Follow These Three Valuable Tips And Make A Beautiful DIY Necklace
DIY jewelry making has become a popular hobby and creative outlet for many people. Creating a necklace from scratch can be a fun and fulfilling project, especially when you get to wear your creation.
However, when it comes to attaching and finishing your necklace, it can be a bit overwhelming. This provides tips and tricks for attaching and finishing your DIY necklace, with a focus on the popular blue-green color combination.
-
Choosing The Right Clasp
One of the most important aspects of a necklace is the clasp. The clasp not only keeps the necklace secure but also adds to the overall design. There are several types of clasps to choose from, including lobster claw, toggle, and magnetic.
When choosing a clasp, consider the weight of the necklace, the design, and the intended use. For example, if you are making a heavy necklace, a lobster claw clasp is a good choice.
If you want a more secure clasp, consider a toggle clasp. And if you have arthritis or other hand issues, a magnetic clasp may be the easiest to use.
-
Attaching Beads And Charms
Once you have chosen the right clasp, it’s time to start attaching beads and charms to your necklace. There are a variety of techniques for attaching beads, including crimping, knotting, and wire-wrapping.
Crimping is a simple and fast way to attach beads, but it may not be suitable for heavy beads or charms. Knotting is a traditional technique that provides a secure hold, but it takes longer to do.
Wire wrapping is a versatile technique that allows you to create intricate designs, but it does require some practice.
When attaching beads and charms, it’s important to consider the blue-green color combination you are working with. For a cohesive look, try to match the color of the beads and charms to the color of the cord or wire you are using.
If you are using multiple colors, try to blend them together in a way that makes sense. For example, you can alternate between blue and green beads or mix different shades of blue and green together.
3. Finishing Touches
Once you have attached all of your beads and charms, it’s time to finish your necklace. One of the easiest ways to finish a necklace is to tie a knot at the end of the cord or wire.
If you have used crimping beads, you can use pliers to close the crimp and secure the knot. If you have used wire-wrapping, you can use pliers to create a loop and attach the clasp.
Another way to finish your necklace is to add a charm or pendant at the end. This not only adds to the design but also helps to weigh down the end of the necklace, which will help to keep it in place.
Consider adding a blue-green gemstone charm or a charm that incorporates the blue-green color combination in some way.
In Summary
Creating a DIY necklace can be a fun and creative project. By choosing the right clasp, attaching beads and charms in a way.
That makes sense and finishing with a few touches, you can create a beautiful necklace that you will be proud to wear.
And don’t forget the blue-green color combination – incorporating this popular color scheme can add a touch of elegance and style to your necklace.
So, grab your supplies and start creating your own unique necklace today.